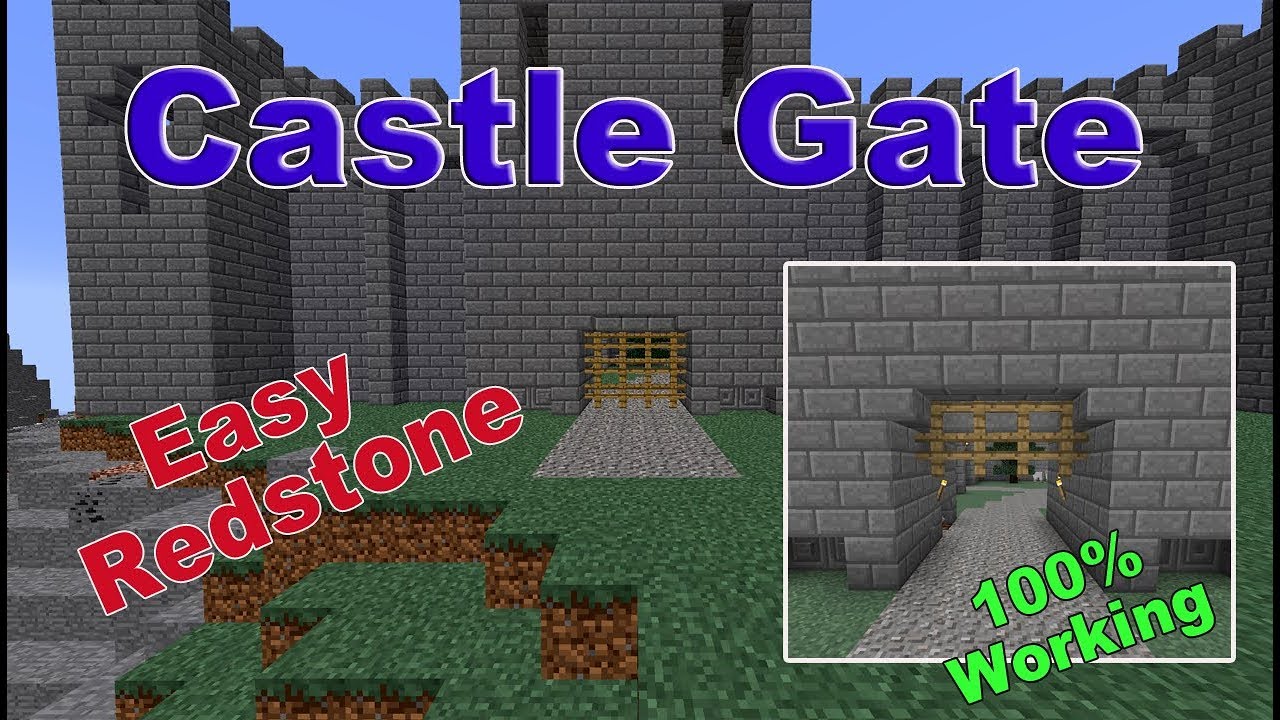
Minecraft allows for incredible creativity.
One cool structure is a stone gate. It can enhance the look of any build.
Here's how to build one.
Gathering Materials
First, you need materials. The main material is stone.
You will also need redstone components. These are essential for the gate's operation.
Specifically, you will need these items:
- Stone Blocks: A large quantity.
- Stone Bricks: For a more refined look (optional).
- Sticky Pistons: The mechanism for moving the gate.
- Redstone Dust: To transmit the signal.
- Redstone Torches: For inverting the signal.
- Pressure Plates: To activate the gate.
- Any Building Block: For temporary placement.
Building the Basic Structure
Begin by outlining the gate's opening.
Use Stone Blocks or Stone Bricks. Decide on the gate's height and width.
Place blocks on either side of where the gate will be.
These will serve as the gate's pillars.
Make sure the pillars are stable and symmetrical.
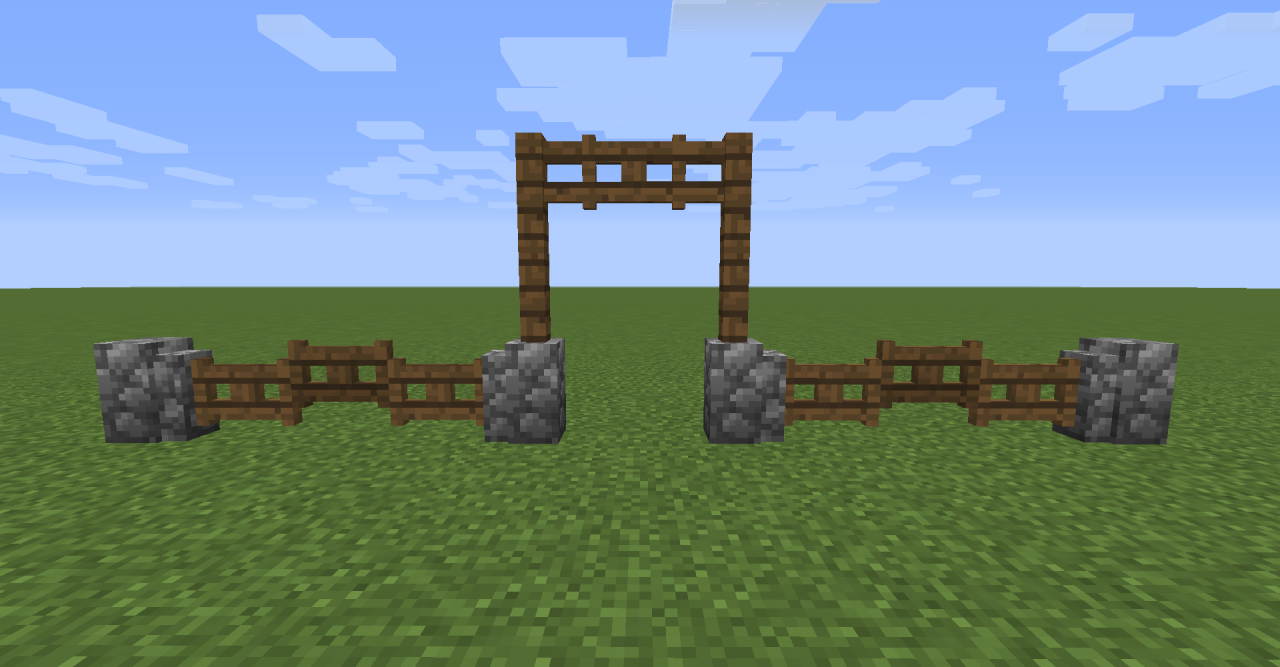
Placing the Pistons
Sticky Pistons are key to this design.
Place them facing each other, on either side of the opening.
They should be at the height where you want the gate to close.
Ensure the Sticky Pistons are one block away from the pillars.
This is where the stone blocks that make the gate will go.
The pistons will push and pull these blocks.
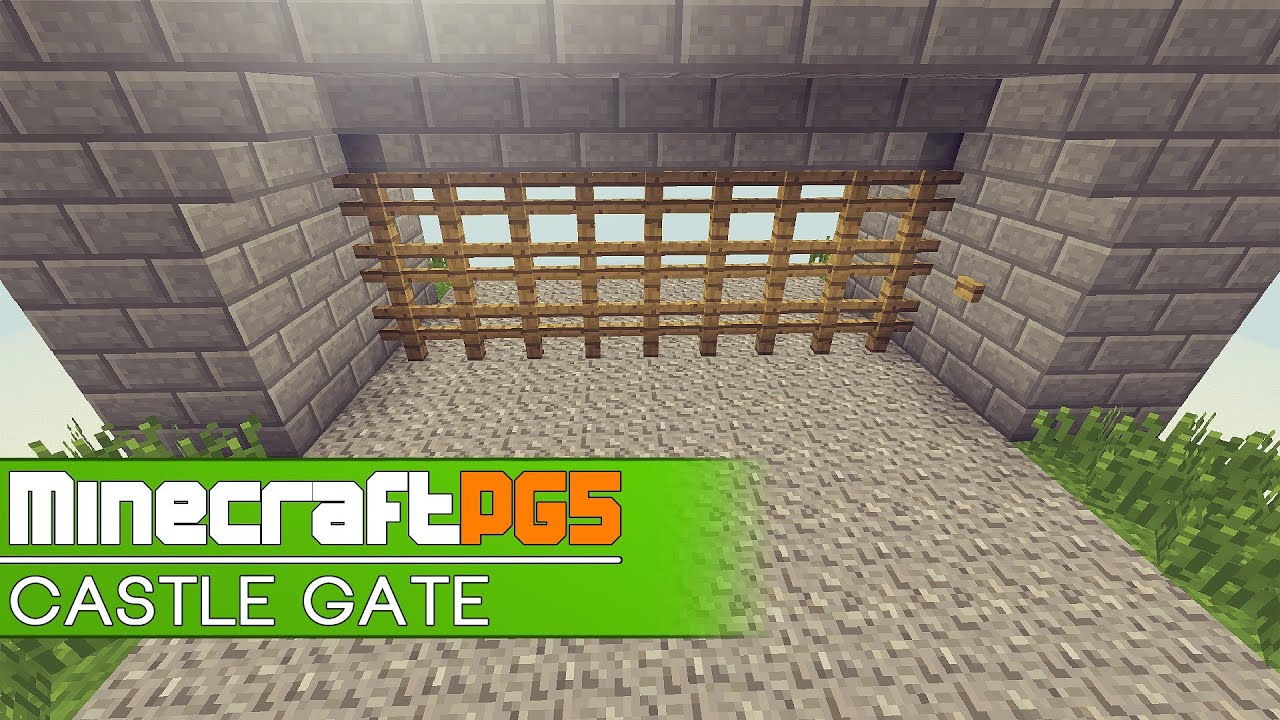
Adding the Gate Blocks
Now place the stone blocks that will form the gate itself.
Put them directly in front of the Sticky Pistons.
These blocks will move when the pistons activate.
Make sure they align with the overall structure.
Redstone Wiring
This is where the redstone magic happens.
Run Redstone Dust from behind each piston.
Connect it to a point near the ground, on both sides of the gate.
You may need to use temporary blocks to elevate the redstone.
Think of the redstone as wires carrying a signal.
The Redstone Dust will transmit this signal to the pistons.
Inverting the Signal
Next, add Redstone Torches.
Place a block next to the redstone line near the ground.
Put a Redstone Torch on the side of that block facing the redstone line.
This inverts the signal. It initially powers the pistons.
When the pressure plate is activated, it cuts the power.
This causes the pistons to retract.
Pressure Plates
Place Pressure Plates on both sides of the gate.
Position them so that when someone steps on them,
They activate the redstone circuit.
The pressure plates should be close to the redstone wiring.
When activated, the pressure plates will de-power the Redstone Torches.
This in turn, retracts the pistons, opening the gate.
Testing and Adjustments
Test the gate by stepping on the Pressure Plates.
The gate should open smoothly.
If it doesn't, check your redstone wiring.
Make sure all connections are correct.
Adjust the placement of redstone components as needed.
Sometimes a small tweak can make a big difference.
Decoration and Refinement
Now that the gate works, focus on aesthetics.
Add decorative elements to the pillars.
Use Stone Bricks or other materials for a refined look.
Consider adding lighting to the gate.
Torches or lanterns can enhance its appearance at night.
Hide the redstone wiring for a cleaner look.
You can use additional blocks to cover the redstone.
Be careful not to disrupt the circuit.
Advanced Options
For a more complex gate, consider using observers.
Observers can detect when a block changes.
This can be used to create more sophisticated activation mechanisms.
You can also incorporate command blocks for advanced functionality.
Command blocks allow you to execute commands within the game.
They can be used to add custom sounds or visual effects to the gate.
With a little ingenuity, you can create truly unique and impressive gates.
Have fun building!