Want to make your drawings pop? Dynamic poses are the key. They bring energy and life to your characters. Learn to draw them, and your art will instantly improve. Ready to start?
Understanding the Basics
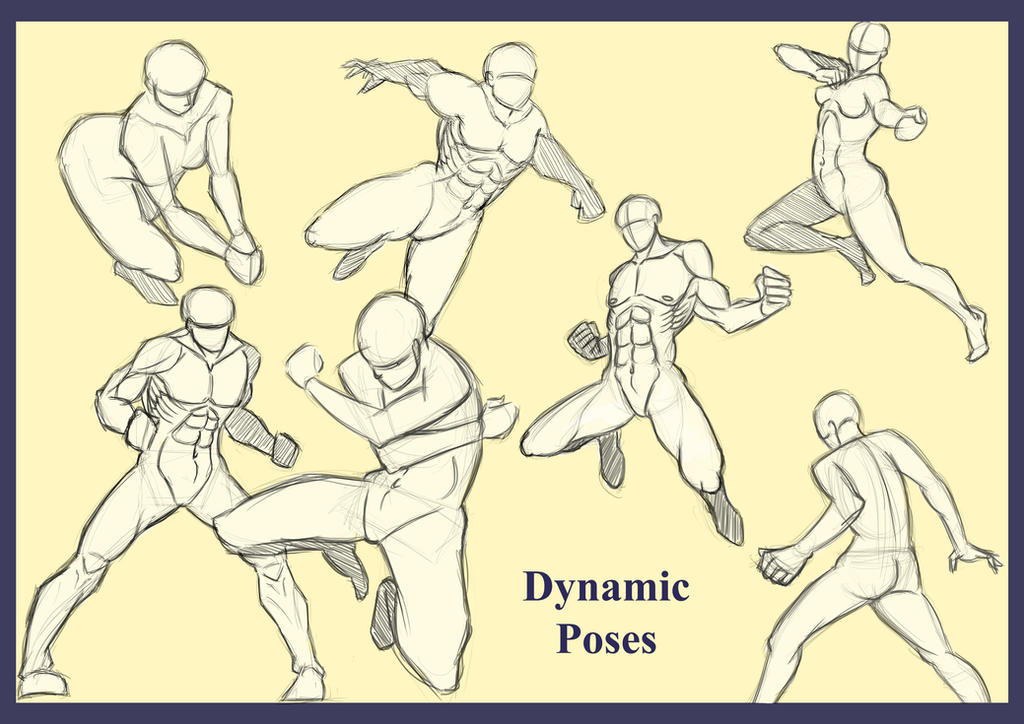
Let's start with some definitions. What exactly is a "dynamic pose"? It's a pose that suggests movement. It looks like the character is about to act. Think of someone running, jumping, or even just leaning dramatically. Instead of being static, they have a feeling of motion.
A static pose, on the other hand, is still and lifeless. Imagine someone standing straight, arms at their sides. It's not very exciting. Our goal is to avoid this. We want action. We want impact. We want dynamic!
Key Concepts: Line of Action
The line of action is your best friend. It's an imaginary line that runs through the character's body. It shows the direction of the pose. Think of it as the spine of the action. A strong, curved line of action creates a dynamic pose. A straight line makes it static.
Imagine a dancer. Their body forms a beautiful curve. This curve is their line of action. It shows the flow of their movement. Practice drawing different curved lines. Then, try to imagine them on a body.
To find the line of action, look at the overall movement. What direction is the character facing? What are they doing? Draw a simple curve that follows that direction. Don't worry about details yet. Just focus on the flow.
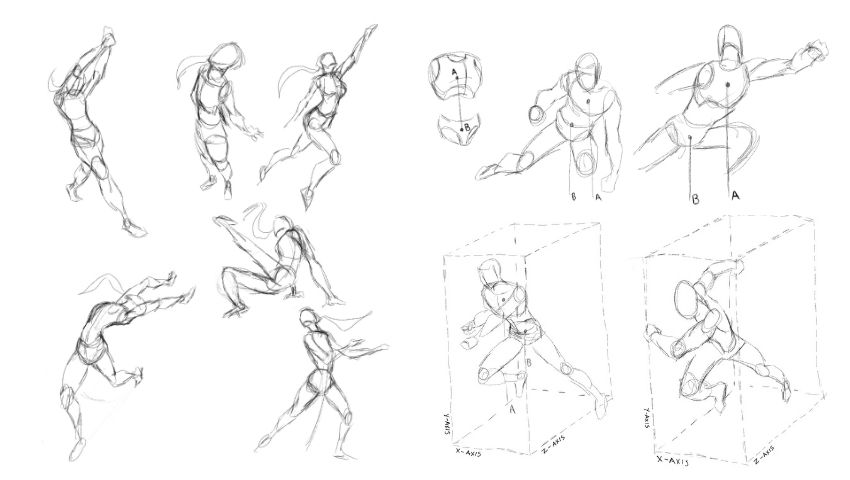
Key Concepts: Center of Gravity
The center of gravity is also crucial. This is the point where the character's weight is balanced. If the center of gravity is off, the pose will look unstable. The character will appear like they are about to fall over.
Think about balancing on one leg. You adjust your body to keep your center of gravity over your foot. Artists need to understand how weight shift affects posture and how to show that in drawing.
When drawing a dynamic pose, consider the base of support. Where are the character's feet or hands? The center of gravity should be above that base. Otherwise, they will look unbalanced. Remember to show where and how the weight of the body is being distributed.
Step-by-Step Guide
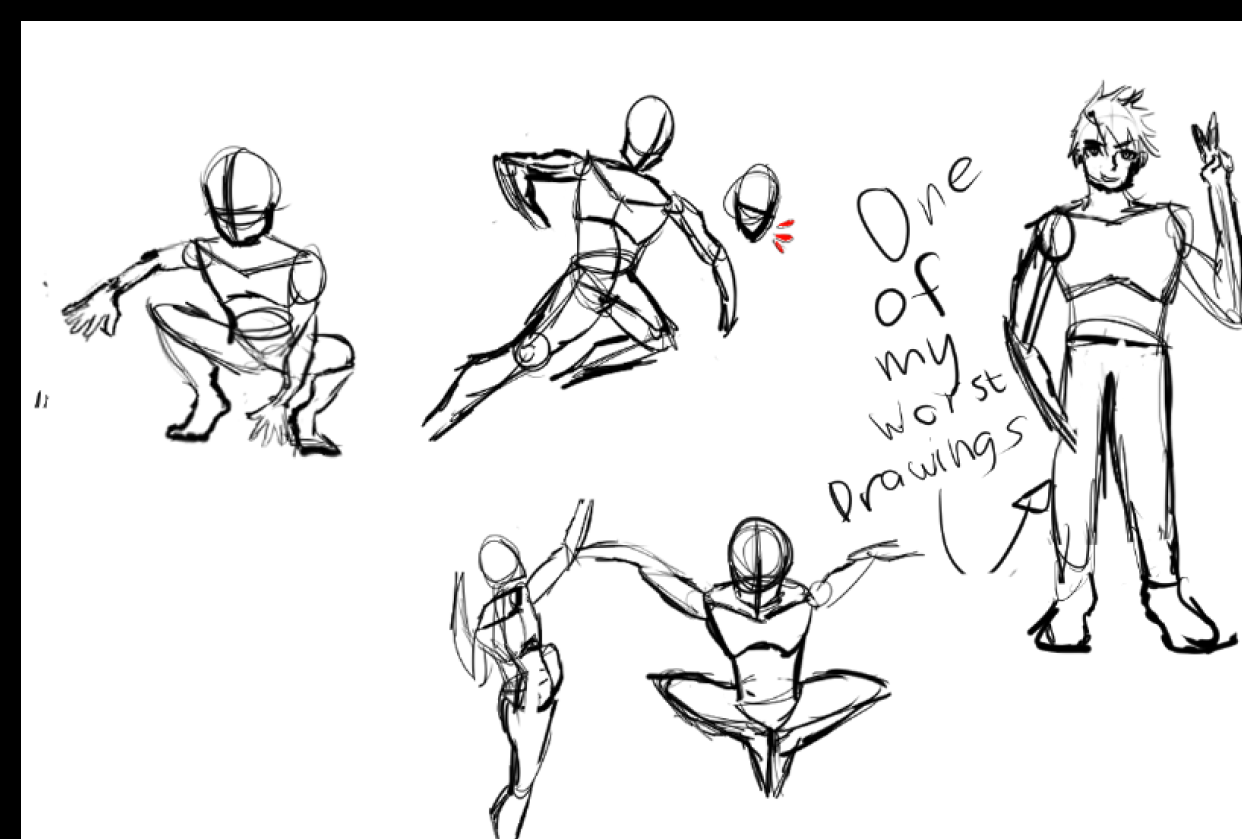
Step 1: Gesture Drawing
Start with a gesture drawing. This is a quick, loose sketch that captures the essence of the pose. Don't worry about details or accuracy. Focus on the overall movement and flow. Draw quickly and intuitively. Capture the energy of the pose.
Use light, flowing lines. Let your hand move freely. Experiment with different lines of action. Try exaggerating the pose. Push the limits of what's possible. Use simple shapes to block out the basic forms like circles or ovals for the head and torso.
A gesture drawing should take no more than a few minutes. It's about capturing the feeling of the pose, not creating a finished drawing. The goal is to get a sense of the movement and rhythm.
Step 2: Line of Action
Identify the line of action. Draw a clear, flowing line through the center of the gesture. This line will guide the rest of your drawing. It sets the foundation for the pose. You can now refine the initial rough sketch.
Make sure the line of action is dynamic. Avoid straight lines. Use curves and angles to create interest. Think about the action the character is performing. The line of action should reflect that action.
Try different curves. See how they change the feeling of the pose. A strong curve creates a sense of energy. A gentle curve creates a sense of grace. The line of action should convey the emotion you are trying to express.
Step 3: Basic Shapes
Add basic shapes to the gesture drawing. Use circles, ovals, and rectangles to represent the head, torso, and limbs. Keep it simple and loose. Don't focus on details yet. These shapes will help you establish the proportions and volume of the body.
Think of these shapes as building blocks. They provide the structure for the pose. Make sure the shapes follow the line of action. This will ensure the pose remains dynamic and believable. Show the overlapping of shapes to establish dimension.
Remember the center of gravity. Adjust the shapes as needed to maintain balance. The character should appear grounded and stable. It should look natural and believable. Check to see if there are any unnatural angles or shapes.
Step 4: Refining the Pose
Refine the pose by adding more detail. Start to define the muscles and joints. Pay attention to anatomy. But don't get bogged down in detail. Focus on the overall form and movement. Take the time to study anatomical reference material.
Use light and shadow to create depth. This will make the pose more three-dimensional. Observe how light falls on the human body. Pay attention to the planes and contours of the muscles.
Add clothing and accessories. These can enhance the dynamic quality of the pose. Flowing fabric can emphasize movement. Accessories can add character and personality. Show how fabric bends and folds in response to movement.
Step 5: Final Touches
Add the final touches. Clean up the lines. Erase any unnecessary marks. Add details to the face and hands. Make sure the expression matches the pose. A facial expression can change the entire feeling of the pose.
Check the overall composition. Is the pose visually appealing? Does it tell a story? Make any necessary adjustments. Ensure the character is well positioned in the drawing space.
Step back and look at your drawing. Are you happy with the result? If not, don't be afraid to make changes. Practice is key to improving your skills. The more you practice, the better you will become at drawing dynamic poses. Every drawing is an opportunity to learn and grow.
Practice Exercises
Here are some exercises to help you practice drawing dynamic poses. Try these to build up your skills. Regular practice will lead to improvement over time.
Gesture Drawing Challenge: Set a timer for 30 seconds. Find photos of people in action. Draw as many gestures as you can before the timer goes off. Focus on capturing the essence of the pose quickly.
Line of Action Experiment: Draw a series of different curved lines. Then, try to imagine those lines on a human body. How does the curve affect the pose? How can a curved line be used to show a specific action?
Figure Drawing Sessions: Attend figure drawing sessions. This is a great way to practice drawing the human body from life. Focus on capturing the movement and energy of the pose.
Study Famous Artists: Look at the work of famous artists who are known for their dynamic poses. Study how they use line of action, center of gravity, and anatomy to create compelling images. Leonardo da Vinci, Michelangelo, and Bernini are excellent examples.
Final Thoughts
Drawing dynamic poses takes practice. Don't get discouraged if you don't see results immediately. Keep practicing, and you will gradually improve. The key is to understand the principles of line of action, center of gravity, and anatomy. With practice, you'll master it.
Have fun with it! Experiment with different poses and styles. Don't be afraid to try new things. The more you experiment, the more you will learn. Enjoy the process of creating art! Let your creativity guide you.
Remember that even the most skilled artists started somewhere. Everyone goes through the learning process. Keep practicing and learning. Eventually, you will be able to draw dynamic poses with ease. Good luck and happy drawing!