Imagine that a calculator is a small kitchen appliance.
It performs mathematical recipes.
Visual Basic (VB) lets us build our own.
Setting Up Our Kitchen (Project)
First, we open Visual Studio. Think of it like opening your kitchen.
We start a new Windows Forms App (.NET Framework) project.
This is like deciding to build a specific dish.
Give it a name, like "MyCalculator".
This is the label for your kitchen creation.
Designing the Interface: Laying Out the Ingredients
Now, we see a blank form. This is our countertop.
Let's add buttons for numbers (0-9) and operators (+, -, *, /).
Each button is like a labeled ingredient container.
Drag Button controls from the Toolbox onto the form.
Change the Text property of each button to its corresponding number or operator (e.g., "1", "+").
Adjust the Name property too (e.g., "btn1", "btnAdd").
Name it meaningfully like you would label ingredient containers.
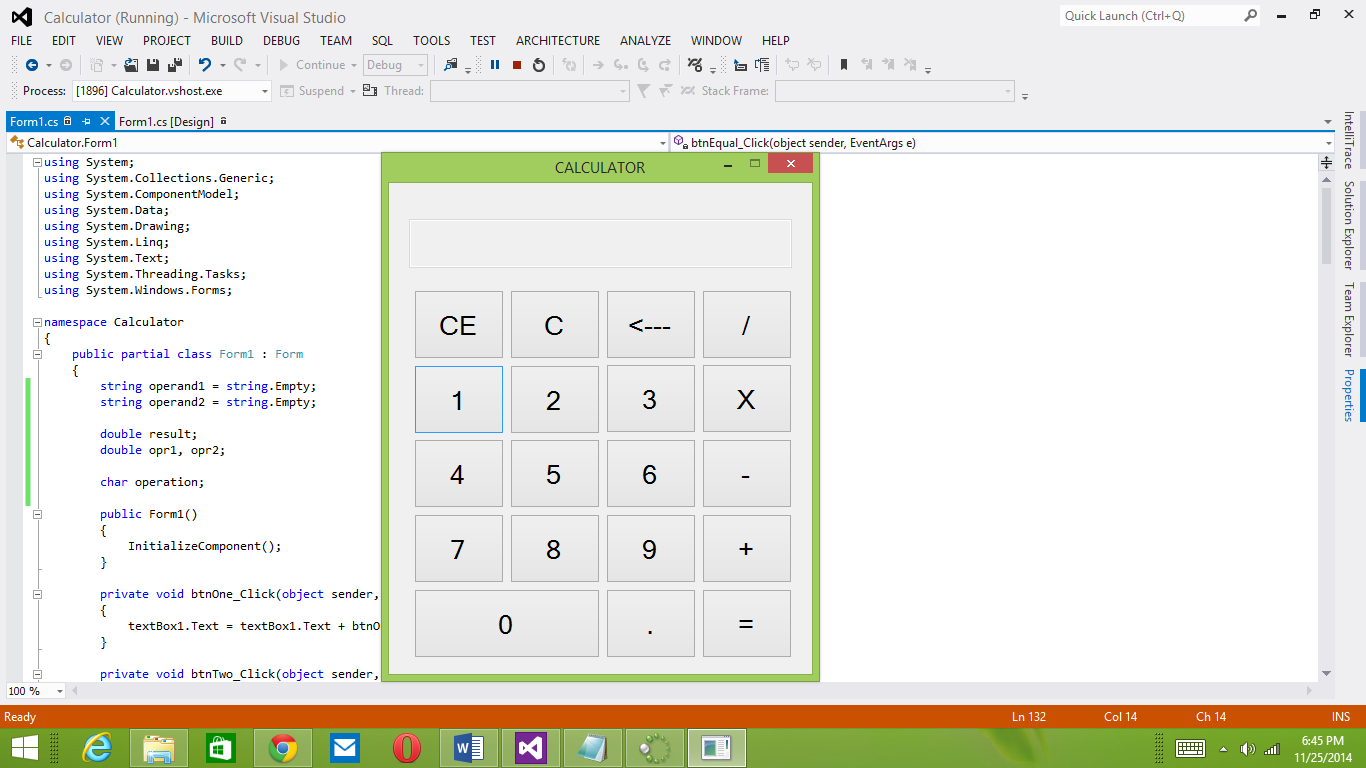
Add a TextBox control. It displays the input and results.
It's the plate where the results are visible.
Change the Name property of the TextBox to "txtDisplay".
Also, set its TextAlign property to Right.
Like arranging your ingredients neatly.
Writing the Recipes (Code)
Let's add functionality to the number buttons.
Double-click on the "1" button (btn1).
This opens the code editor.
Add this code within the btn1_Click event:
txtDisplay.Text += "1";
This is like adding "1" to the plate.
Do this for all the number buttons (0-9).
Each button adds its number to the txtDisplay.
Now, let's add operator buttons.
We need variables to store the first number and the operator.
These are like temporary containers while we mix things.
Declare these variables at the top of the form's code (outside any button click events):
Private num1 As Double
Private operation As String
Private resultDisplayed As Boolean = False
Now, double-click the "+" button (btnAdd).
Add this code within the btnAdd_Click event:
num1 = Double.Parse(txtDisplay.Text)
operation = "+"
txtDisplay.Text = ""
resultDisplayed = False
We are storing the number and remembering the operation.
Do similarly for "-", "*", and "/".
Each operator needs its own Click event code, storing the chosen operator in the operation variable.
Now, the "=" button (btnEquals).
Double-click on the "=" button.
Add this code within the btnEquals_Click event:
Dim num2 As Double = Double.Parse(txtDisplay.Text)
Dim result As Double
Select Case operation
Case "+"
result = num1 + num2
Case "-"
result = num1 - num2
Case "*"
result = num1 * num2
Case "/"
If num2 = 0 Then
txtDisplay.Text = "Error"
Else
result = num1 / num2
End If
End Select
txtDisplay.Text = result.ToString()
resultDisplayed = True
This calculates based on the stored operator.
Adding the Finishing Touches
Add a "Clear" button (btnClear).
It cleans the plate, like starting over.
Add this code within the btnClear_Click event:
txtDisplay.Text = ""
num1 = 0
operation = ""
resultDisplayed = False
Add a decimal point button (btnDecimal).
Add this code within the btnDecimal_Click event:
If txtDisplay.Text.Contains(".") Then
'Do nothing
Else
txtDisplay.Text += "."
End If
Preventing multiple decimal points.
Add a negative/positive toggle button.
This is like changing a number's sign.
Try
Dim currentValue As Double = Double.Parse(txtDisplay.Text)
txtDisplay.Text = (-currentValue).ToString()
Catch ex As Exception
'Handle the case when the Textbox is empty or contains invalid data
txtDisplay.Text = "0" 'Or any other default value
End Try
Testing Our Recipe (Running the Program)
Click the "Start" button (or press F5).
This runs our calculator.
Test all the buttons. Confirm that the calculations are correct.
If something doesn't work, debug and refine your code.
Example: Putting It All Together
Press "5", then "+", then "3", then "=".
The txtDisplay should show "8".
If it does, the calculator is working as expected!
Congratulations! You've built your own calculator.
Remember that each button click is an event.